
When it comes to fieldstone basement waterproofing, understanding the condition of your stone is vital. You need to identify any cracks or gaps that may allow water intrusion. Clearing the area and documenting existing damage sets the stage for effective treatment. Selecting the right waterproofing products is fundamental, but it doesn’t end there. You’ll also need to take into account drainage solutions to manage water flow. Let’s explore the steps to guarantee your basement stays dry and protected.
Key Takeaways
- Assess the fieldstone basement for deterioration, moisture, and cracks to identify areas needing repair before waterproofing.
- Inspect and seal any foundation cracks, gaps around windows, and areas where water collects to prevent future water intrusion.
- Clear the basement of clutter and document damage to prioritize necessary repairs and ensure accessibility during waterproofing.
- Apply appropriate waterproofing products designed for stone surfaces, following specific application techniques and allowing for proper drying times.
- Install drainage solutions, such as a French drain and sump pump, to effectively redirect water away from the basement and prevent flooding.
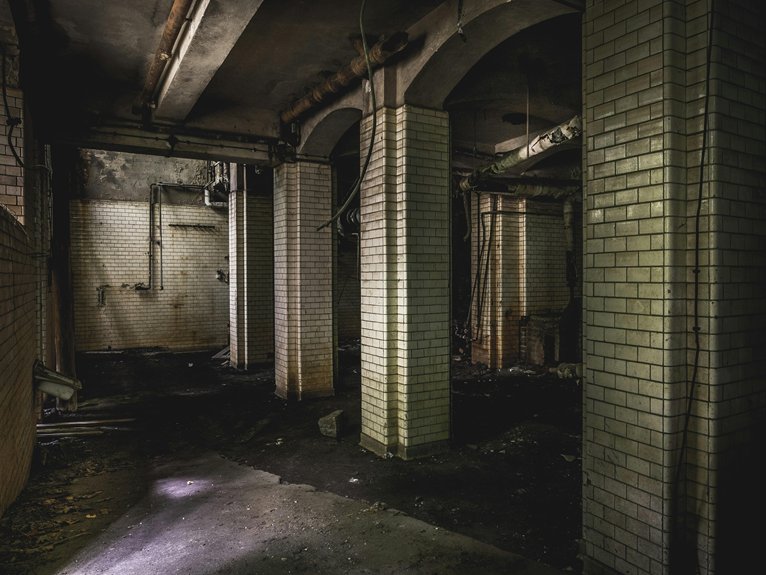
Assessing the Condition of Your Fieldstone Basement
Before you begin waterproofing your fieldstone basement, it’s essential to assess its current condition.
Start by examining the fieldstone characteristics, such as texture, color, and structural integrity. Look for any signs of deterioration, like crumbling or loose stones.
Check for basement moisture, especially in corners and around the foundation. Use a moisture meter to quantify dampness levels, as excessive moisture can lead to mold growth and further damage.
Additionally, inspect the mortar joints between stones for cracks or gaps that may allow water to seep in.
Addressing these issues early will guarantee a more effective waterproofing process.
Identifying Sources of Water Intrusion
To effectively waterproof your fieldstone basement, you first need to identify the sources of water intrusion.
Look for common entry points such as cracks in the foundation, gaps around windows, and improperly sealed walls.
Also, pay attention to signs of moisture damage and seasonal water flow patterns, as these can greatly impact your basement’s integrity.
Common Water Entry Points
Water intrusion can wreak havoc on your fieldstone basement, leading to structural damage and mold growth. To effectively combat this issue, you need to identify common water entry points.
Foundation cracks are a primary source, allowing water to seep in during heavy rains or snowmelt. Inspect your basement walls for any visible cracks and seal them promptly.
Additionally, check window wells and drainage systems, as clogged gutters can redirect water toward your foundation. Pay attention to the ground slope around your home; improper grading can direct water toward your basement, increasing the risk of intrusion.
Address these entry points to protect your space.
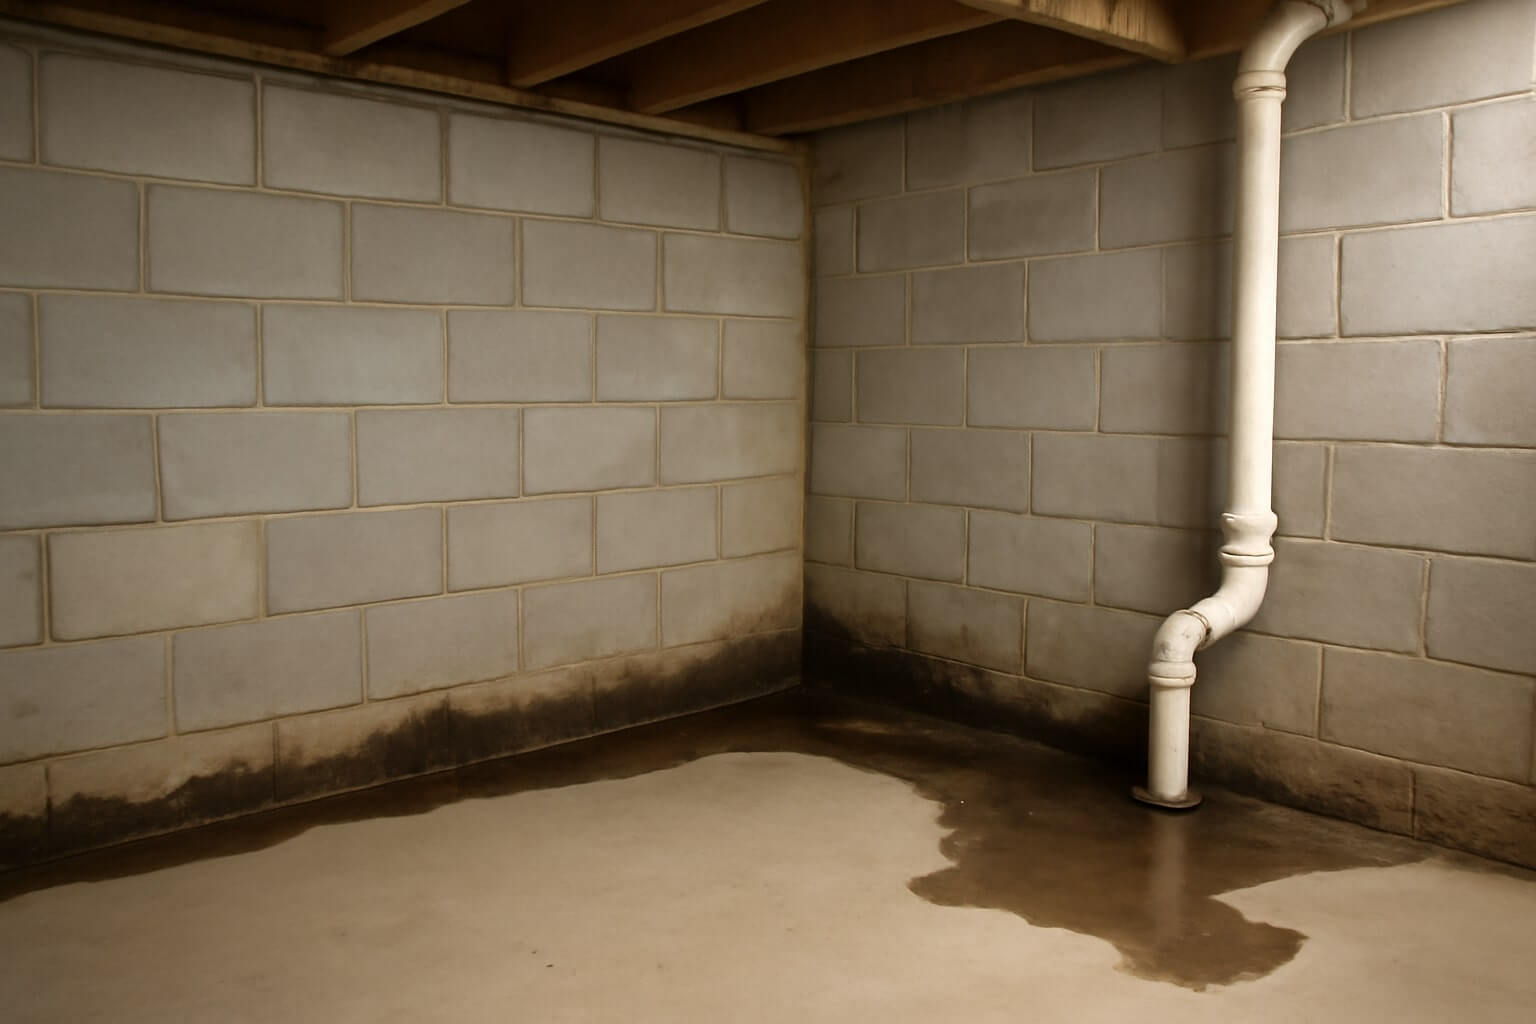
Signs of Moisture Damage
Identifying signs of moisture damage in your fieldstone basement is essential for preventing further issues.
Look for moisture indicators such as mold growth, which often appears as dark spots on walls or ceilings. You might also notice efflorescence, a white, powdery substance that forms on stone surfaces when water evaporates.
Additionally, check for water stains on walls or floors, which are clear damage signs that water has intruded. If you detect a musty odor, that can further indicate trapped moisture.
Addressing these issues promptly can help you avoid more extensive repairs and maintain a dry, safe environment.
Seasonal Water Flow Patterns
Understanding seasonal water flow patterns is essential for pinpointing sources of water intrusion in your fieldstone basement. Seasonal precipitation influences how water moves through the soil, impacting the water table’s level.
During heavy rainfall or snowmelt, the ground can become saturated, leading to increased hydrostatic pressure against your basement walls. You should monitor these changes throughout the year to identify potential leaks or seepage points.
Additionally, observe how water drains around your property; poor drainage can exacerbate water intrusion issues. By analyzing these patterns, you can take proactive measures to protect your basement from moisture damage effectively.
Preparing Your Basement for Waterproofing
Before you start waterproofing, clear out any clutter from your basement to guarantee easy access to all areas.
Next, inspect the walls and floors for any damage that could compromise your waterproofing efforts.
Finally, identify any moisture sources, as addressing these issues is essential for effective water management.
Clear Out Clutter
To effectively prepare your basement for waterproofing, start by clearing out any clutter that may obstruct the process. Clutter removal not only creates space but also allows you to identify potential problem areas. Use these organizing tips to streamline your basement:
| Item Category | Action |
|---|---|
| Furniture | Relocate or dispose |
| Boxes | Sort and label |
| Tools | Organize in a toolbox |
| Seasonal items | Store in a designated area |
| Miscellaneous items | Donate or discard |
Inspect for Damage
Inspecting your basement for damage is vital, as hidden issues can undermine waterproofing efforts.
Begin with a thorough damage assessment, focusing on cracks, leaks, and signs of mold. Pay close attention to the walls and floor, as these areas are critical for structural integrity.
Look for bowing or shifting, which may indicate deeper problems. Don’t forget to check window wells and any exposed piping.
Document your findings to prioritize repairs effectively. Addressing these issues before waterproofing guarantees a solid foundation, reducing the risk of future water intrusion and maintaining the longevity of your basement.
Identify Moisture Sources
Once you’ve assessed for damage, the next step is pinpointing moisture sources that can compromise your waterproofing efforts.
Start by inspecting the exterior of your home, looking for cracks in the foundation or areas where water collects. Conduct water testing by applying water to potential entry points, observing where it seeps in.
Check for leaks in plumbing and verify gutters are directing water away from the foundation. Additionally, monitor humidity levels inside the basement, as excessive moisture can lead to mold growth.
Identifying these moisture sources accurately will help you implement effective waterproofing solutions tailored to your situation.
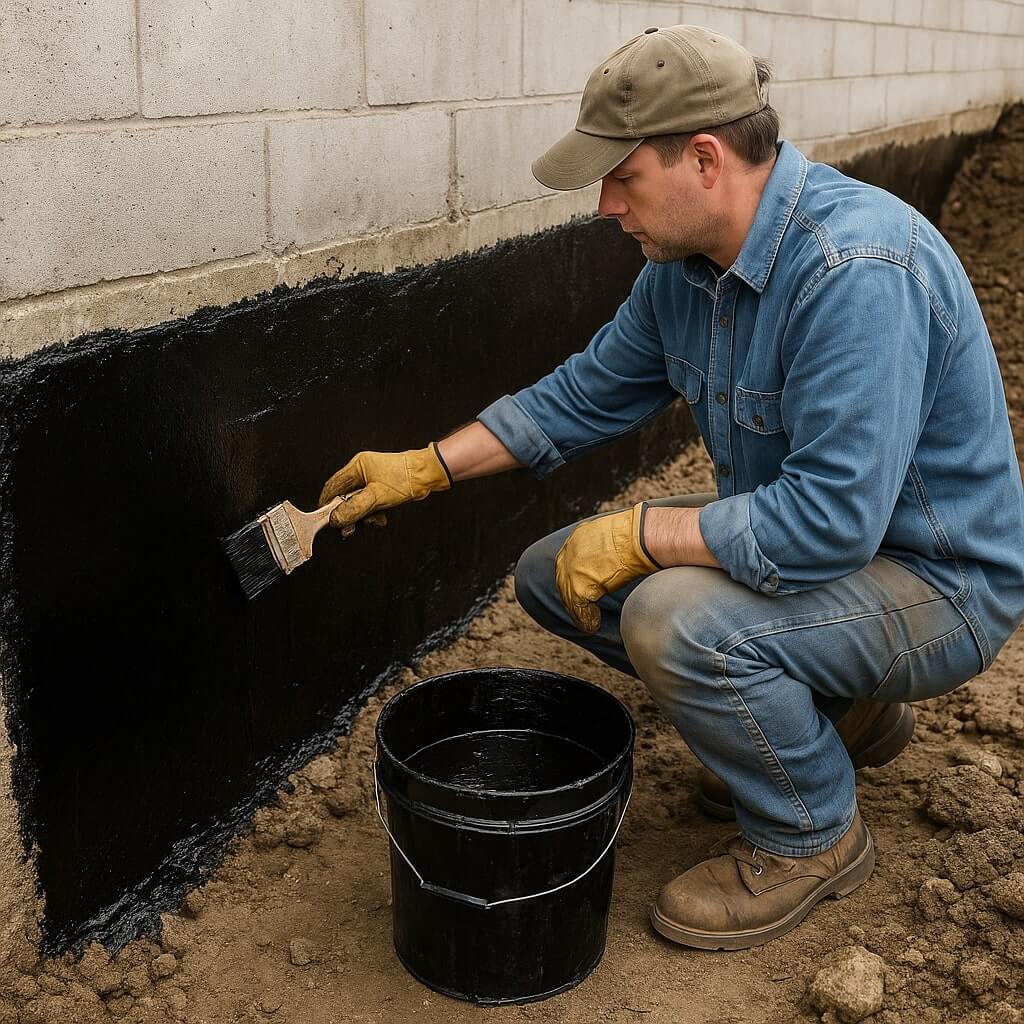
Applying Waterproofing Products
While preparing your fieldstone basement for waterproofing, it’s essential to choose the right products and apply them correctly to secure maximum protection against moisture. Focus on waterproof coatings designed for stone surfaces and follow proper application techniques. Confirm the surface is clean and dry before applying the product.
| Product Type | Application Technique | Drying Time |
|---|---|---|
| Acrylic Coating | Brush or roller | 4-6 hours |
| Bituminous Membrane | Trowel or spray | 24 hours |
| Epoxy Sealer | Brush | 12 hours |
| Liquid Rubber | Roller | 2-4 hours |
| Penetrating Sealer | Spray or brush | 1-2 hours |
Installing Drainage Solutions
Before you begin installing drainage solutions in your fieldstone basement, understanding the specific drainage systems available is essential for preventing water issues.
Start with a proper drainage installation, guaranteeing a French drain system to direct water away from your walls. Position the sump pump in the lowest area of your basement, which efficiently removes accumulated water.
Connect the sump pump discharge line to an exterior drain or an appropriate location away from your foundation. Regularly check the sump pump’s functionality to verify it operates during heavy rains.
Maintaining Your Waterproofing System
Maintaining your waterproofing system is essential to ensuring long-term protection against water damage in your fieldstone basement.
Regularly inspect your waterproofing materials for signs of wear, such as cracks or peeling. Address these issues promptly to prevent moisture infiltration.
Keep gutters and downspouts clear to direct water away from your foundation. Consider applying a waterproof sealant every few years to enhance protection.
Additionally, monitor humidity levels in the basement; using a dehumidifier can help reduce moisture.
Follow these maintenance tips consistently to extend the lifespan of your waterproofing system and safeguard your basement from potential water damage.
Conclusion
By following these steps for fieldstone basement waterproofing, you can effectively protect your space from water damage. Assess the condition of your walls, identify water intrusion sources, and prepare your basement thoroughly. Use appropriate waterproofing products and install reliable drainage solutions to manage moisture. Regular maintenance is essential; inspect your system consistently and address any issues promptly. Taking these actions will guarantee your fieldstone basement remains dry and structurally sound for years to come.