If you’re tired of dealing with a damp basement, it’s time to take action. Waterproofing your basement floor can prevent water damage and improve your home’s value. But where do you start? From evaluating existing water issues to selecting the right materials, there’s a lot to take into account. Let’s explore the essential steps to guarantee you achieve a professional finish and protect your space effectively.
Key Takeaways
- Assess your basement for water issues by checking for leaks, discoloration, and musty odors before starting the waterproofing process.
- Gather essential tools like trowels, brushes, and a wet/dry vacuum to ensure effective application and cleanup.
- Clean and prepare the surface thoroughly, repairing any cracks to create a smooth area for waterproofing products.
- Apply waterproofing products in thin, even coats, following manufacturer instructions for best results and allowing proper drying time.
- Conduct regular maintenance checks on your waterproofed basement to identify any new issues and ensure continued effectiveness.
Assessing Your Basement for Water Issues
How can you tell if your basement has water issues? Start by checking for visible water sources like leaks or puddles.
Inspect walls and floors for discoloration or peeling paint, which can indicate high moisture levels. Use a moisture meter to measure humidity; anything above 60% suggests a problem.
Pay attention to musty odors, as they often signal mold growth linked to moisture. Additionally, look for condensation on windows or pipes.
If you find any signs of water intrusion, it’s essential to address them promptly to prevent further damage and guarantee a dry, healthy basement environment.
Gathering Necessary Tools and Materials
Before you start waterproofing your basement floor, you need to gather the right tools and materials.
Essential tools like a trowel, roller, and brush are vital for applying waterproofing products effectively.
You’ll also want to stock up on materials such as waterproofing sealants and membranes to guarantee a successful project.
Essential Tools Required
To successfully waterproof your basement floor, you’ll need to gather some essential tools and materials.
Start with a concrete mixer if you’re using cement-based waterproofing methods. A trowel and a paint roller are essential for applying sealants.
You’ll also require a wet/dry vacuum to clean up any basement moisture effectively. Don’t forget a measuring tape for accurate surface dimensions and safety gear like gloves and goggles.
A damp meter can help you assess moisture levels before you begin. With these tools at hand, you’ll be well-equipped to tackle your waterproofing project like a pro.
Materials for Waterproofing
Once you’ve gathered your tools, it’s time to focus on the materials you’ll need for waterproofing your basement floor.
First, choose high-quality waterproofing membranes to create a barrier against moisture. Options like sheet membranes or liquid-applied membranes work well, depending on your preference.
Next, pick sealant options to fill any cracks or gaps in the concrete. Look for products that are specifically designed for basement use to guarantee longevity.
Don’t forget to gather a paint roller or brush for application. With the right materials in hand, you’ll be ready to tackle the waterproofing process effectively.
Preparing the Surface for Waterproofing
Preparing the surface for waterproofing is crucial for ensuring long-lasting results, and it starts with a clean, dry foundation.
Begin with thorough surface cleaning to remove dirt, dust, and debris; use a broom or vacuum for best results.
Thoroughly clean the surface to eliminate dirt, dust, and debris for optimal waterproofing results.
Next, conduct a moisture inspection to identify any existing dampness or leaks. If you find moisture, address it before proceeding.
Allow the area to dry completely, as any lingering moisture can compromise your waterproofing efforts.
Finally, check for cracks or imperfections and repair them to create a smooth, even surface, setting the stage for a successful waterproofing application.
Applying Waterproofing Products
Now that you’ve prepared your basement floor, it’s time to choose and apply the right waterproofing products.
You’ll find various options, each with unique benefits, so pick one that suits your needs.
Understanding application techniques is essential for ensuring effective coverage and lasting protection.
Types of Waterproofing Products
When it comes to waterproofing a basement floor, choosing the right products is crucial for effective moisture control. You’ll encounter various sealant types, including liquid membranes that create a strong barrier against water intrusion.
Liquid membranes are ideal for uneven surfaces, while other sealants may work better on smooth, flat areas. Consider epoxy and polyurethane options, as they offer excellent adhesion and durability.
Each type has its strengths, so assess your specific needs before making a choice. By selecting the appropriate waterproofing products, you can guarantee long-lasting protection for your basement floor against water damage.
Application Techniques Explained
Selecting the right waterproofing products is just the first step; knowing how to apply them effectively is key to achieving ideal results.
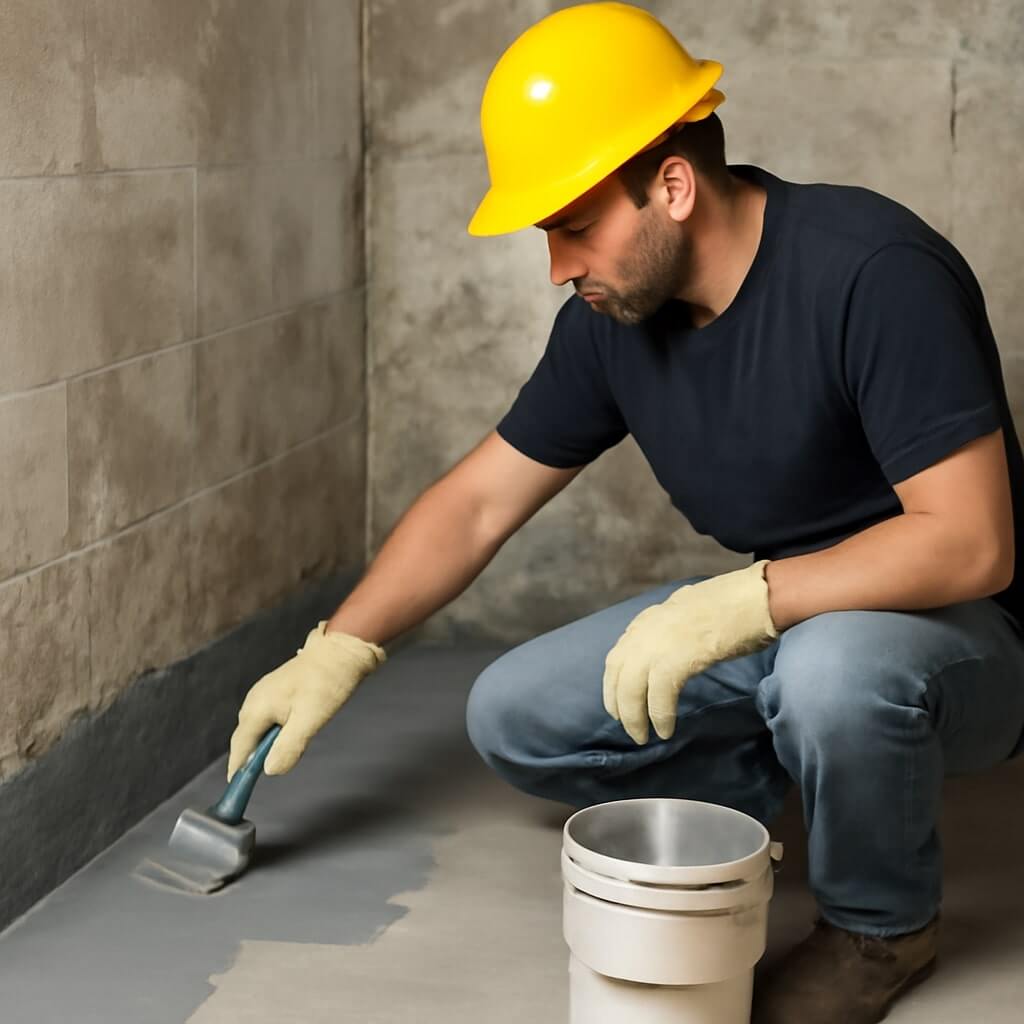
Start by preparing your basement floor—clean it thoroughly and repair any cracks. For application methods, you can use a brush, roller, or sprayer depending on the product.
Apply in thin, even coats, allowing each layer to dry completely before adding another. Expert techniques, like back-rolling, can help guarantee even distribution and better adhesion.
Always follow the manufacturer’s instructions for curing times and safety precautions. With these tips, you’ll achieve a durable, waterproofed basement floor.
Sealing Cracks and Gaps
Sealing cracks and gaps is essential for preventing water intrusion in your basement.
You can effectively tackle this task with the following steps:
- Identify Cracks and Gaps: Inspect your basement floor for any visible cracks or gaps.
- Clean the Area: Remove dirt and debris from the cracks to guarantee proper adhesion.
- Choose Materials: Select appropriate products for crack sealing and gap filling, such as epoxy or polyurethane sealants.
- Apply Sealant: Follow the manufacturer’s instructions to fill the cracks and gaps, guaranteeing an even application.
Installing a Drainage System
To effectively manage water accumulation in your basement, installing a drainage system is essential.
Start by evaluating your drainage design to guarantee it meets your space’s needs. Dig a trench around the perimeter of your basement to lay perforated pipes, allowing water to flow into the system.
Evaluate your drainage design and dig a trench around your basement to install perforated pipes for effective water management.
Next, consider sump installation to collect and pump out excess water. Position the sump pit in the lowest area, making sure it’s properly sealed to prevent leaks.
Connect the sump pump to your drainage system, directing water away from your home. This setup will greatly reduce moisture and protect your basement from flooding.
Maintaining Your Waterproofed Basement
After you’ve installed a proper drainage system, maintaining your waterproofed basement becomes essential to secure long-term protection against moisture.
To guarantee effective moisture control, follow these steps:
- Conduct regular inspections of walls and floors for cracks or damp spots.
- Check sump pumps and drainage systems monthly to make sure they’re functioning properly.
- Inspect gutters and downspouts to prevent water from pooling near your foundation.
- Monitor humidity levels using a hygrometer and use a dehumidifier if necessary.
Tips for Preventing Future Water Problems
While you’ve taken steps to waterproof your basement, it’s essential to implement additional strategies that can prevent future water problems.
Start by installing effective drainage solutions around your home, ensuring water flows away from the foundation. Regularly check gutters and downspouts for blockages, and extend them at least six feet away from your basement.
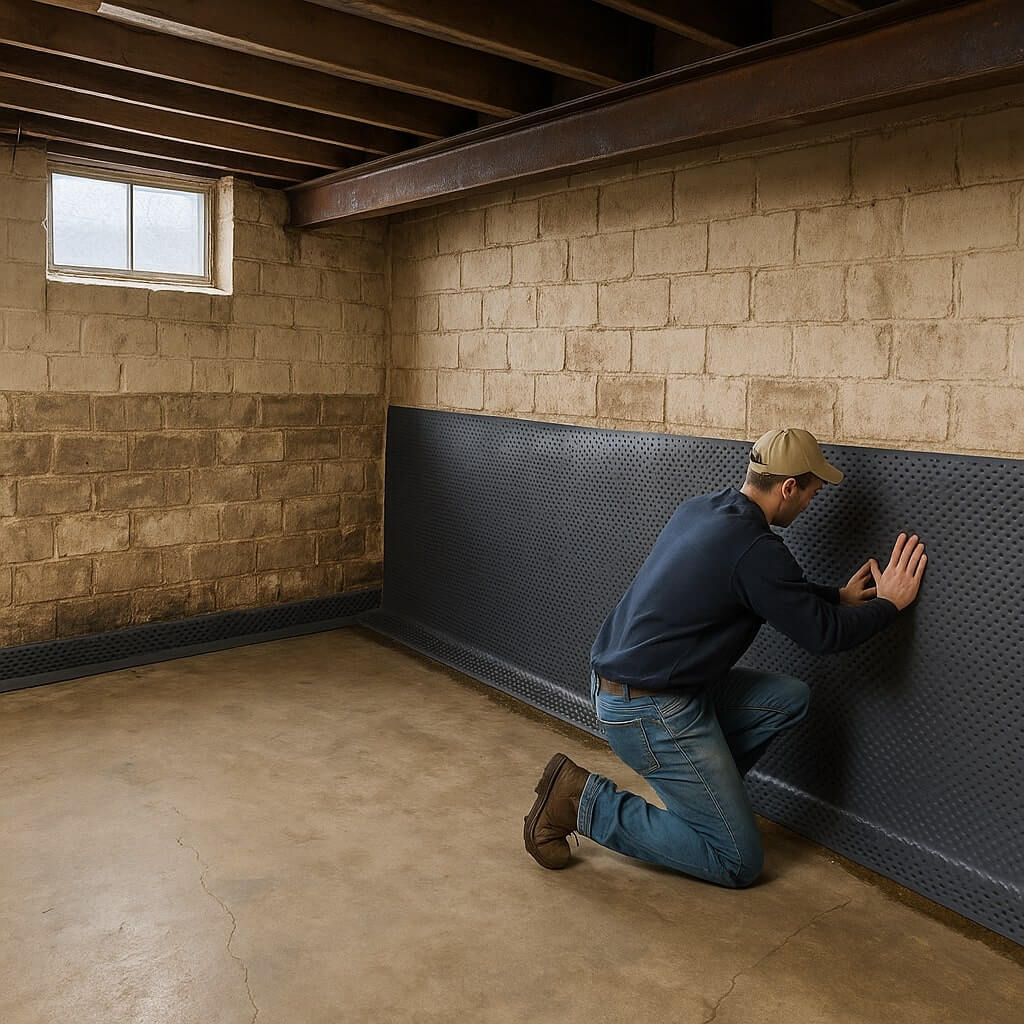
Consider adding moisture barriers on walls and floors to further protect against dampness.
Finally, monitor humidity levels in your basement; using a dehumidifier can help maintain a dry environment.
Conclusion
By following these steps, you can successfully waterproof your basement floor like a pro. Start with a thorough assessment and gather the right tools, then prepare the surface and apply waterproofing products carefully. Don’t forget to seal any cracks and consider installing a drainage system for added protection. Regular maintenance and monitoring will help you prevent future water issues. With diligence and attention to detail, you’ll keep your basement dry and usable for years to come.