If you’re facing water issues in your basement, you don’t have to spend a fortune to fix them. There are several effective DIY solutions that can help you tackle moisture problems without breaking the bank. From sealing cracks to improving drainage, these strategies can make a significant difference. But where should you start, and which methods yield the best results? Let’s explore some practical steps to keep your basement dry and protected.
Key Takeaways
- Inspect for moisture signs like damp spots and mold to identify problem areas before applying solutions.
- Seal hairline and small cracks with latex caulk or polyurethane foam to prevent water intrusion.
- Create an interior drainage system by excavating a trench for a drainage pipe leading to a sump pump.
- Use waterproof paint on basement walls after cleaning and repairing surfaces to create a moisture barrier.
- Improve exterior grading by ensuring soil slopes away from the foundation to redirect water effectively.
Assessing Your Basement’s Water Issues
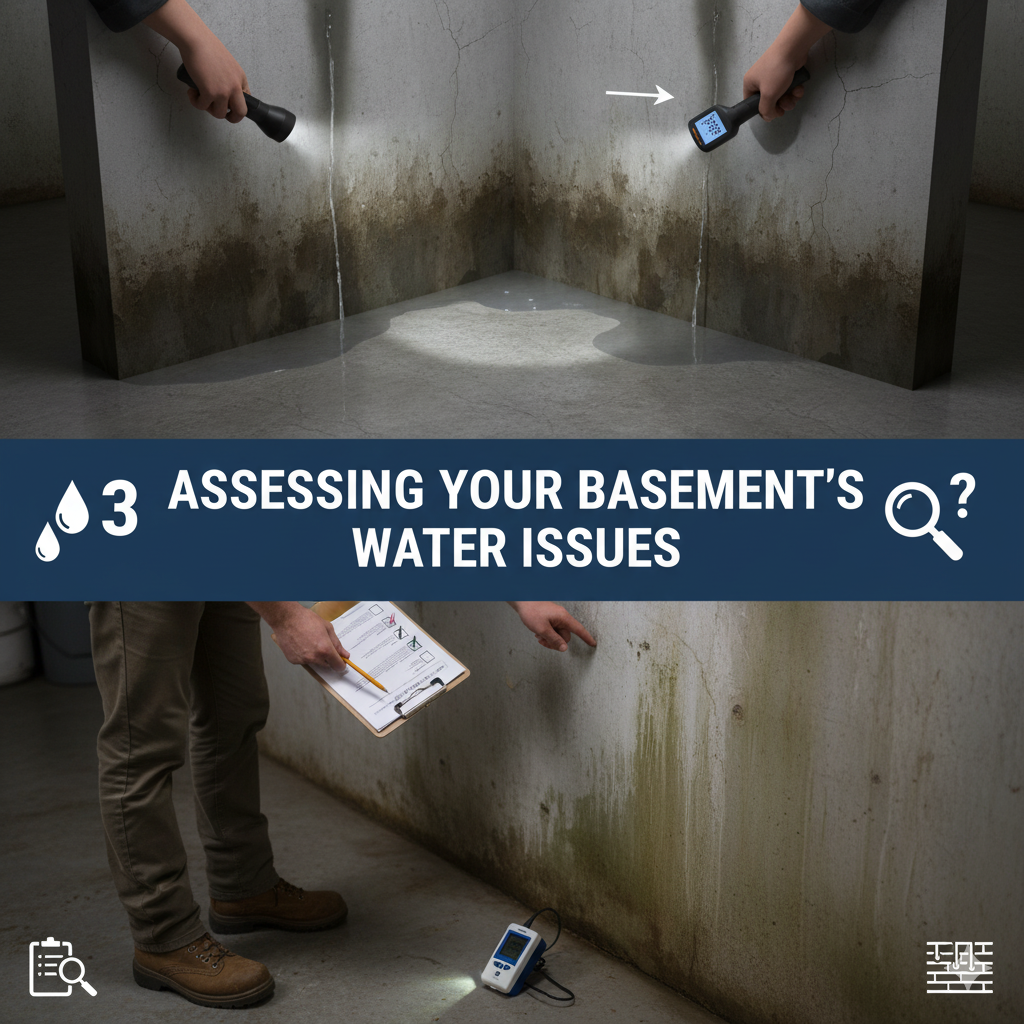
How can you tell if your basement has water issues? Start by checking for visible signs of moisture detection, like damp spots or mold growth on walls and flooring.
Pay attention to any musty odors, which can signal hidden water sources. During heavy rain, monitor for leaks around windows or foundation cracks.
Additionally, inspect your gutters and downspouts; improper drainage can lead to water pooling near your home’s foundation.
Use a moisture meter to assess humidity levels. If you find persistent moisture, it’s time to take action and prevent further water damage to your basement.
Sealing Cracks and Gaps
Sealing cracks and gaps in your basement is essential for preventing water intrusion and protecting your home. Different crack types require specific sealing materials to guarantee effectiveness. Here’s a quick reference to help you choose the right solution:
| Crack Type | Recommended Sealing Material |
|---|---|
| Hairline Cracks | Latex Caulk |
| Small Cracks | Polyurethane Foam |
| Large Cracks | Epoxy Sealant |
| Structural Cracks | Hydraulic Cement |
Installing Interior Drainage Systems
When water seeps into your basement, installing an interior drainage system can be an effective solution to manage and redirect that moisture.
Start by excavating a trench along the perimeter of your basement floor. Install a drainage pipe at the bottom of the trench, ensuring it slopes towards a sump pump. The sump pump will collect and discharge the water outside, preventing flooding.
Cover the pipe with gravel to facilitate drainage and then replace the concrete floor. This DIY approach not only protects your foundation but also creates a dry, usable space in your basement.
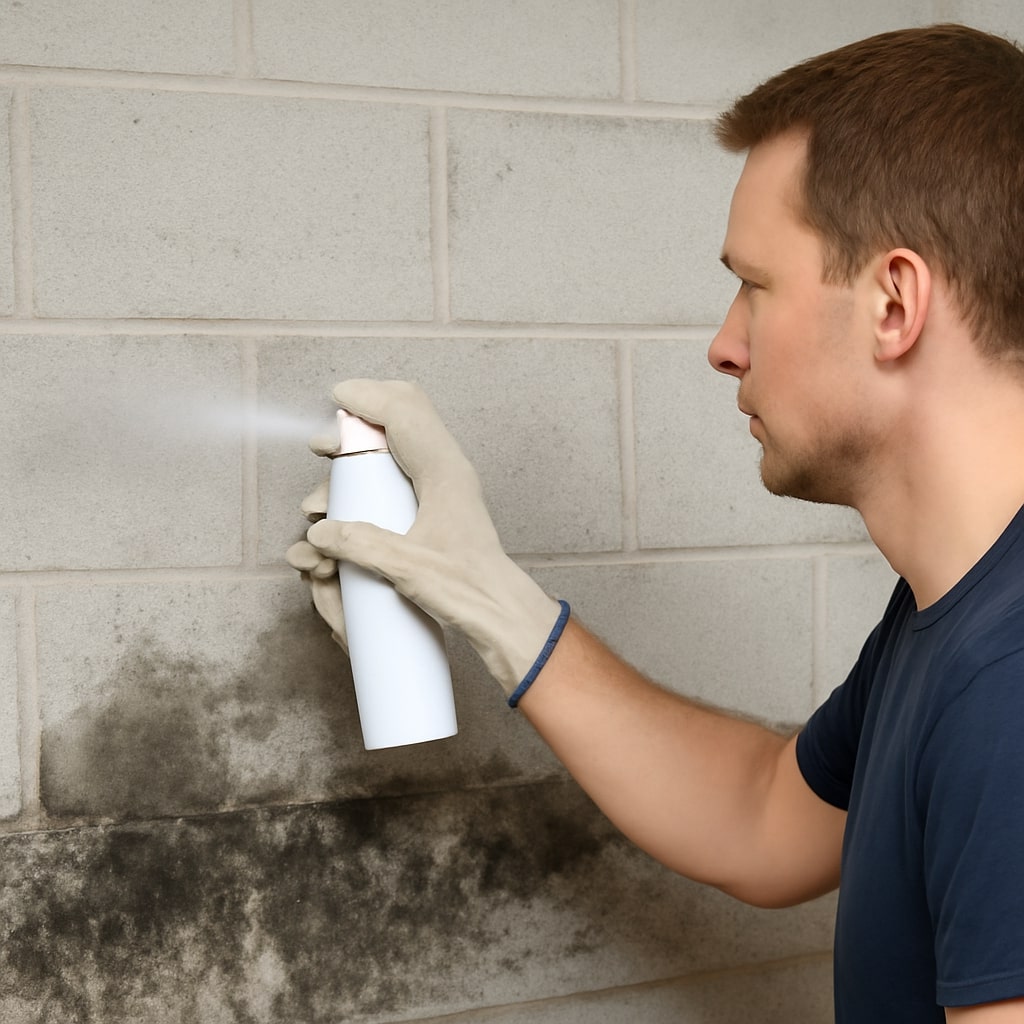
Utilizing Waterproof Paints and Sealants
When it comes to waterproofing your basement, choosing the right paint and sealant is essential.
You’ll want to understand the best application techniques to guarantee a secure barrier against moisture.
Additionally, exploring long-lasting sealant options can provide you with peace of mind for years to come.
Choosing the Right Paint
How can you guarantee your basement stays dry and protected? Choosing the right waterproof paint is essential.
Start with proper surface preparation; clean and repair any cracks or imperfections to ascertain maximum adhesion.
For color selection, opt for lighter shades to enhance brightness and make the space feel larger.
Look for paints specifically labeled as waterproof or water-resistant, as they provide a durable barrier against moisture.
Remember, a quality sealant can complement your paint choice, adding an extra layer of protection.
Application Techniques Explained
After selecting the right waterproof paint and sealant, it’s time to focus on application techniques that guarantee a successful job. Here are some effective methods to verify proper application:
| Step | Technique | Tips |
|---|---|---|
| Preparation | Clean surface | Remove dirt and debris |
| Application | Use a roller/brush | Apply evenly, avoid drips |
| Curing | Allow to dry | Follow manufacturer’s guidelines |
| Inspection | Check for gaps | Reapply as necessary |
Long-lasting Sealant Options
Choosing the right sealant can make all the difference in ensuring your basement stays dry for years to come.
For long-lasting protection, opt for waterproof paints and sealants designed for masonry. These long-lasting materials create a protective barrier against moisture.
Before application, clean the surface thoroughly to enhance adhesion. When you apply the sealant, make sure to follow the manufacturer’s instructions for effective application.
Use brushes or rollers for even coverage, and pay special attention to cracks or vulnerable areas.
Improving Exterior Grading and Drainage
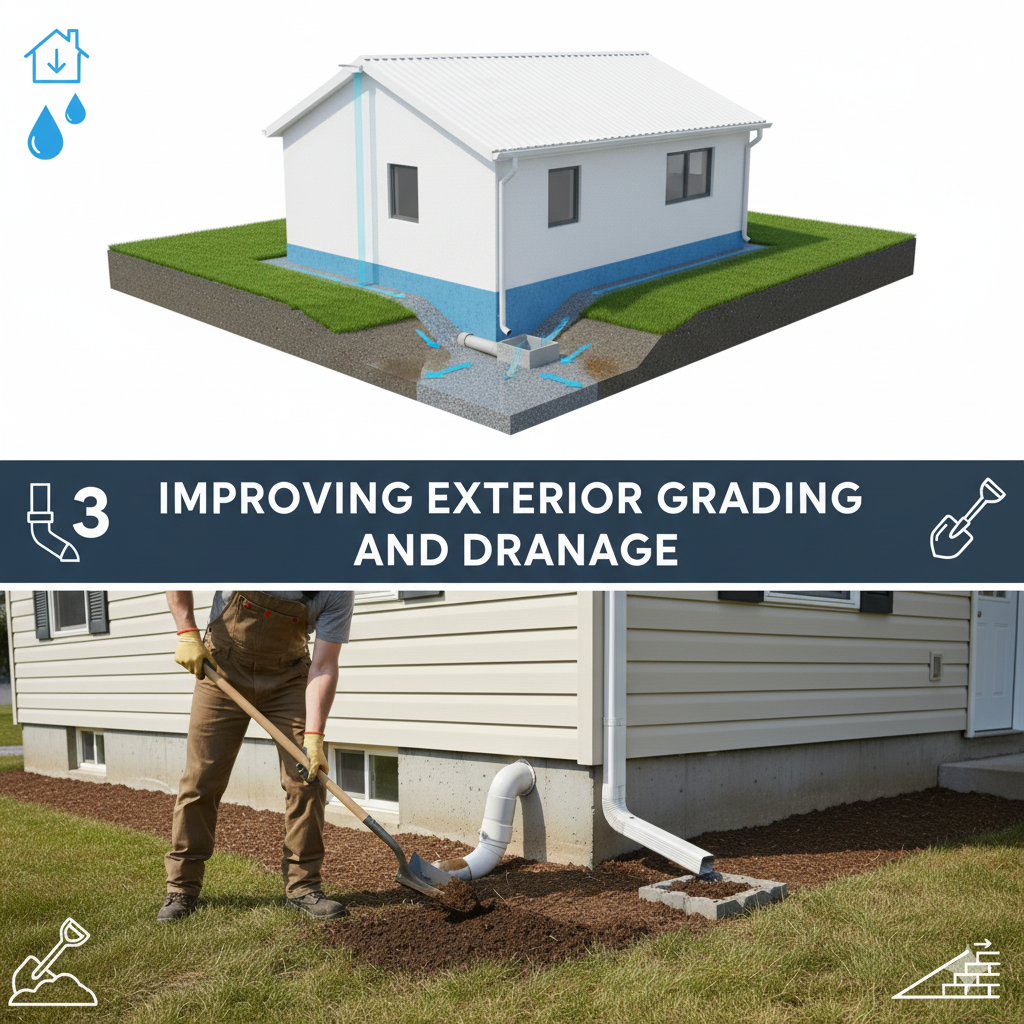
To prevent water from pooling around your foundation, start by evaluating your current grading levels.
Consider installing effective drainage solutions to redirect water away from your home.
Regular maintenance practices will guarantee your grading and drainage systems remain effective over time.
Assessing Current Grading Levels
When you assess your current grading levels, it’s essential to guarantee that water flows away from your foundation rather than toward it.
Start by checking the grading slope around your home; it should decline at least six inches over the first ten feet. This slope prevents water pooling near your foundation.
Next, consider your soil type; sandy soils drain better than clay, which retains moisture. If your grading isn’t adequate, you may need to add soil to create a better slope.
Regularly maintaining these grading levels is vital for effective basement waterproofing and preventing water damage.
Installing Drainage Solutions
Once you’ve assessed and improved your grading levels, the next step is to install effective drainage solutions to further protect your basement.
Start by gathering quality drainage materials like perforated pipes and gravel. You’ll want to focus on areas where water tends to pool.
For best results, trench digging is essential. Dig trenches around your foundation at a slight slope to direct water away.
Lay the perforated pipes in the trenches, covering them with gravel to facilitate drainage. This setup will channel excess water away from your home, reducing the risk of basement flooding and maintaining a dry environment.
Regular Maintenance Practices
Regular maintenance is essential for guaranteeing your basement remains dry and free from water damage.
Start with routine inspections of your property’s grading; make sure soil slopes away from your foundation. This simple adjustment promotes effective drainage and reduces water pooling near your basement.
Next, check gutters and downspouts to verify they’re clear and directing water away from the home. Regularly maintaining these elements is key to moisture control.
If you notice any issues, address them promptly to prevent larger problems down the line. By staying proactive, you can protect your basement from unwanted moisture and costly repairs.
Implementing Simple Ventilation Solutions
To effectively combat moisture issues in your basement, implementing simple ventilation solutions can make a significant difference.
Start by installing ventilation fans to enhance air circulation, helping to reduce humidity levels. Position these fans strategically to create a cross-breeze, allowing fresh air to flow in while pushing stale air out.
You might also consider opening windows when weather permits, further promoting airflow. If your basement lacks natural ventilation, a dehumidifier can work alongside fans to keep moisture at bay.
Conclusion
By taking these DIY steps, you can effectively waterproof your basement without breaking the bank. Start by evaluating any water issues, sealing cracks, and installing drainage systems as needed. Don’t forget to enhance your exterior grading and use waterproof paints for an added layer of protection. With a bit of effort and the right materials, you’ll create a dry, safe basement that protects your home and belongings. Get started today to enjoy a moisture-free space!