If you’re facing moisture issues in your basement, waterproofing the walls is vital. Start by evaluating the condition of the walls for any cracks or signs of mold. Cleaning and repairing damage is important before applying a waterproofing sealant. This guide will walk you through the seven necessary steps to guarantee your basement stays dry and secure. Let’s take a closer look at how to effectively protect your space from moisture damage.
Key Takeaways
- Assess your basement walls for moisture, cracks, and signs of damage before starting the waterproofing process.
- Clean the walls thoroughly, removing dirt and mildew, and allow them to dry completely.
- Repair visible cracks using high-quality epoxy or hydraulic cement for effective sealing.
- Choose and apply a suitable waterproofing solution, following the manufacturer’s instructions for best results.
- Schedule routine inspections and maintenance to ensure ongoing protection from moisture issues.
Assess the Condition of Your Basement Walls
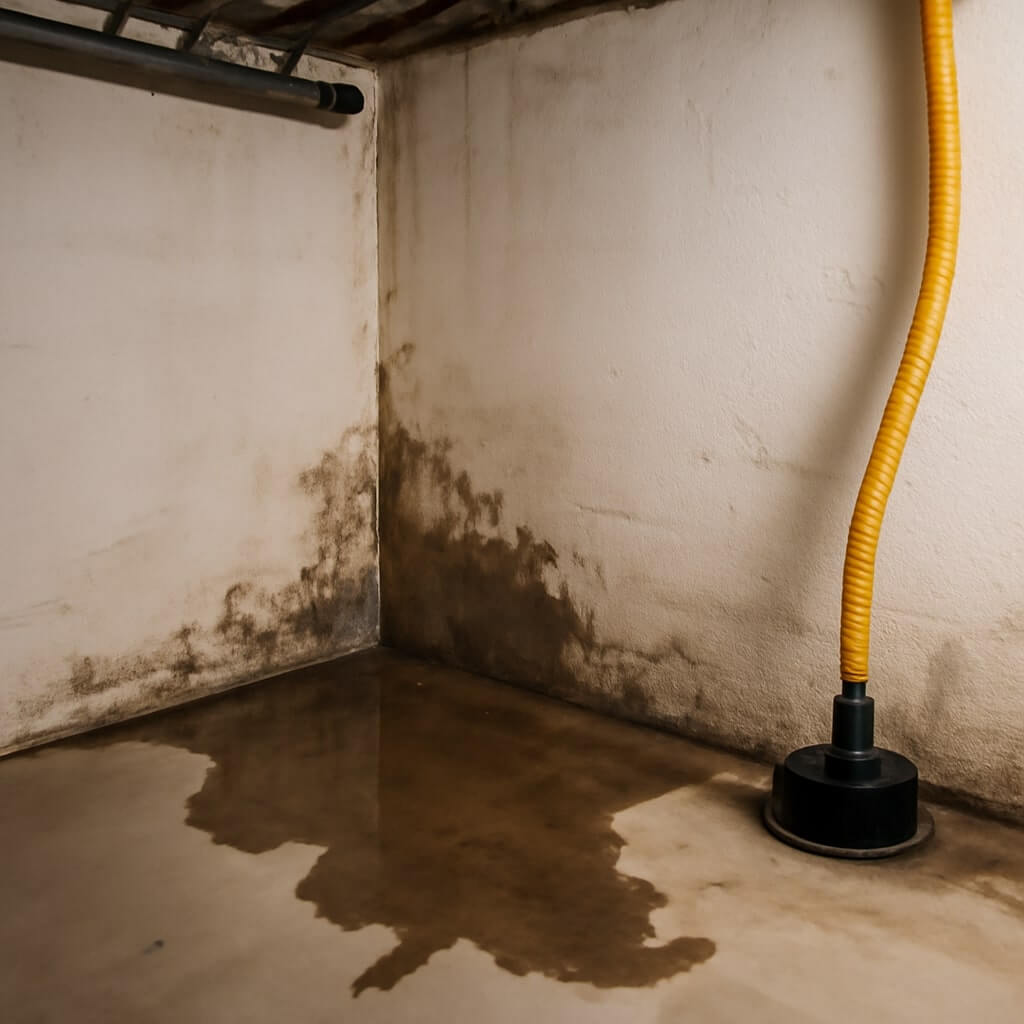
Before you plunge into waterproofing your basement walls, it’s essential to assess their current condition.
Start by checking for signs of moisture and mold, which indicate excessive basement humidity. Inspect the wall insulation; it should be intact and dry.
Look for cracks, flaking paint, or discoloration that may signal water intrusion. Use a moisture meter to measure humidity levels and identify potential problem areas.
Pay attention to the foundation’s exterior, too, as this can affect your interior walls. Understanding these factors will help you plan an effective waterproofing strategy tailored to your basement’s specific needs.
Clean the Walls Thoroughly
Cleaning the walls thoroughly is an essential step in the waterproofing process, and it can greatly impact the effectiveness of your efforts.
Start by using wall cleaning techniques like scrubbing with a stiff brush to remove dirt, mildew, and loose paint. For stubborn stains, mix warm water with a mild detergent or vinegar solution.
Utilize effective cleaning supplies, such as a pressure washer or a wet/dry vacuum, to guarantee all debris is eliminated.
After cleaning, allow the walls to dry completely before proceeding. A clean surface guarantees better adhesion for your waterproofing products, enhancing their performance and longevity.
Repair Any Cracks or Damage
Before you start waterproofing, you need to identify any visible cracks or damage in your basement walls.
Clean the surfaces around these imperfections to guarantee proper adhesion of repair materials.
Once prepared, apply a high-quality epoxy or hydraulic cement to seal the cracks effectively.
Identify Visible Cracks
As you prepare to waterproof your basement walls, it’s crucial to identify any visible cracks, since even minor imperfections can lead to significant water intrusion.
Start by examining the walls for common crack types, including hairline, vertical, and horizontal cracks. Hairline cracks may only require a sealant, while larger vertical or horizontal cracks may need epoxy injections or hydraulic cement for proper repair.
Use a utility knife to widen any cracks slightly, ensuring better adhesion for your chosen repair methods. Document these cracks, as addressing them before waterproofing will enhance your overall effectiveness and protect your basement from future moisture issues.
Clean and Prepare Surface
Once you’ve identified and documented all visible cracks in your basement walls, it’s time to clean and prepare the surface for effective waterproofing.
Start by removing any loose debris, dust, or paint using a wire brush or scraper. Vacuum the area to guarantee a clean surface.
For larger cracks, consider using a chisel to widen them slightly, which allows better adhesion for repair materials.
Inspect for damage to basement insulation as well, addressing any issues before applying waterproofing methods.
This thorough preparation is essential for guaranteeing the longevity of your waterproofing efforts and protecting your home from moisture intrusion.
Apply Repair Materials
Start by applying the appropriate repair materials to any cracks or damage you’ve uncovered in your basement walls. Use a high-quality epoxy or hydraulic cement for superior results.
First, clean the area around the crack, then mix the repair material according to the manufacturer’s instructions. For application techniques, use a putty knife to press the material firmly into the crack, ensuring no air pockets remain.
Smooth the surface for a clean finish, and allow it to cure as directed. Once cured, check for any additional imperfections and repeat the process if necessary to create a solid, waterproof barrier.
Apply a Waterproofing Sealant
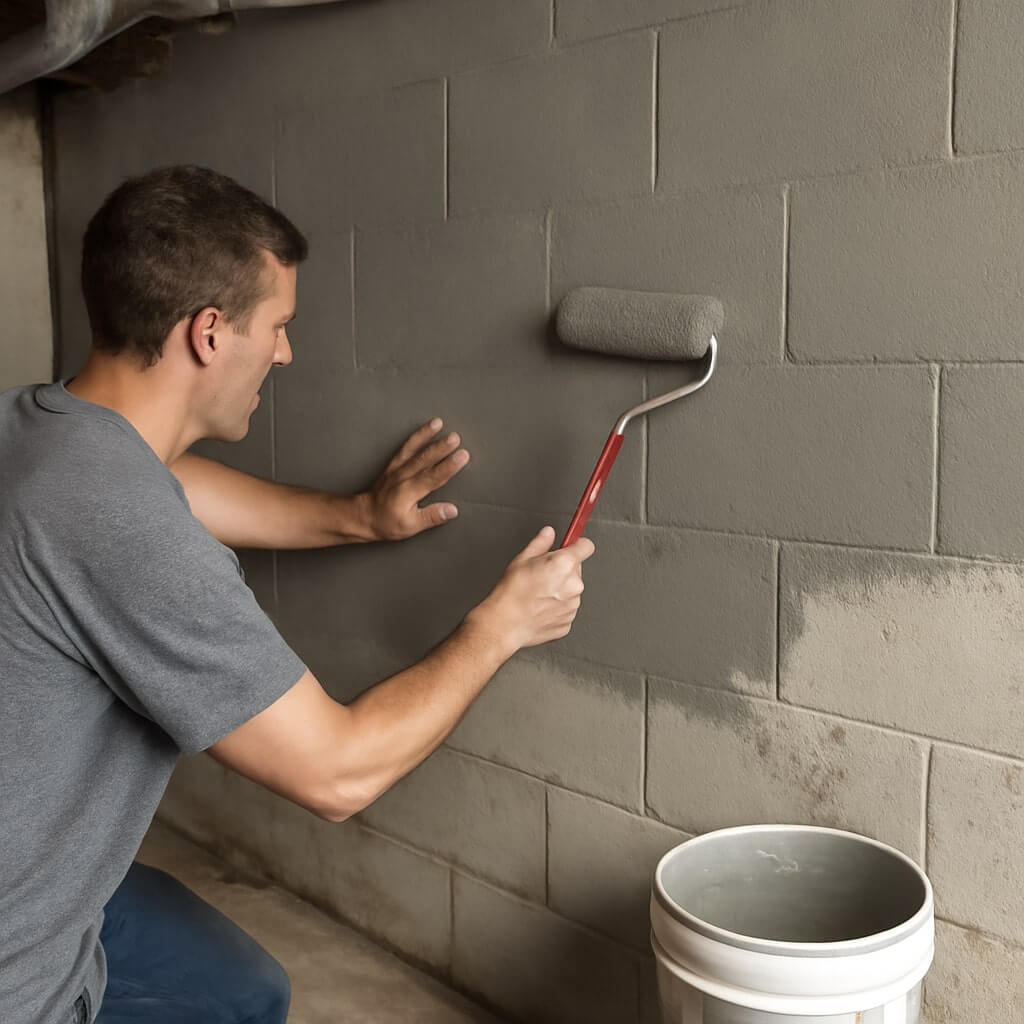
Applying a waterproofing sealant is an essential step in protecting your basement walls from moisture intrusion. For effective sealant application, follow these waterproofing techniques:
| Step | Description | Tips |
|---|---|---|
| Clean the Surface | Remove dust and debris | Use a wire brush |
| Apply the Sealant | Use a roller or brush | Work in small sections |
| Inspect the Finish | Check for missed spots | Touch up as needed |
Ensure you let the sealant cure completely before adding any further treatments. This will help create a moisture barrier that keeps your basement dry and safe.
Install Interior Drainage Systems
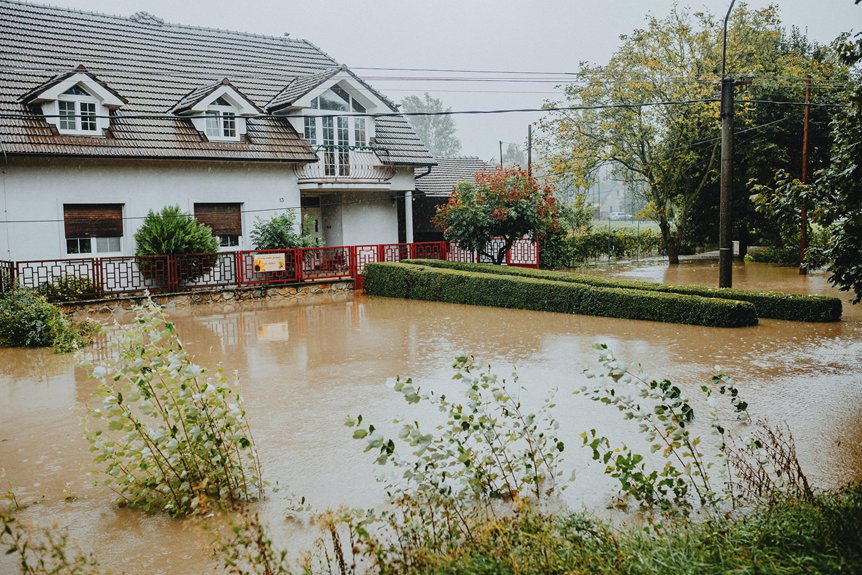
When moisture seeps into your basement, installing an interior drainage system can effectively manage and redirect that water away from your walls and foundation.
Start by digging a trench around the perimeter of your basement floor, guaranteeing it’s wide enough to accommodate drainage tiles. Lay the tiles in the trench, sloping them towards a designated sump pump location.
The sump pump will collect and discharge the water outside, preventing flooding. Seal the trench with concrete, ensuring a smooth finish.
Regularly check the sump pump to verify it operates efficiently, keeping your basement dry and protected from future water damage.
Use a Dehumidifier for Added Protection
Maintaining a dry basement often requires more than just structural solutions; it also involves controlling humidity levels. A dehumidifier is essential for effective moisture management, ensuring your basement stays dry and comfortable. By reducing humidity, you not only protect your walls but also prevent mold and mildew growth.
| Feature | Benefits | Considerations |
|---|---|---|
| Size | Handles specific square footage | Choose based on basement size |
| Drainage option | Continuous operation | Requires a floor drain |
| Energy efficiency | Lower electricity costs | Check energy ratings |
Using a dehumidifier enhances humidity control, giving you added protection for your basement.
Maintain Regular Inspections and Maintenance
To keep your basement walls in top condition, schedule routine inspections every six months.
During these checks, look for any signs of moisture, such as damp spots or mold growth, which can indicate underlying issues.
Identifying these moisture sources early allows you to take corrective action before they escalate into costly repairs.
Schedule Routine Inspections
Regular inspections are essential for keeping your basement waterproofing system effective and trouble-free.
To guarantee peak performance, establish an inspection frequency, ideally every six months. Use an inspection checklist to guide your evaluations.
Here are four key areas to focus on:
- Check for Cracks: Inspect walls and floors for new or widening cracks.
- Evaluate Sealant: Assess the integrity of sealants and repair any damage.
- Examine Drainage: Verify sump pumps and drains are functioning properly.
- Look for Mold: Inspect for mold growth, which can indicate moisture issues.
These steps will help maintain a dry and secure basement.
Identify Moisture Sources
After completing your routine inspections, the next step is to identify potential moisture sources that could compromise your basement’s waterproofing.
Begin with moisture detection by checking for leaks in pipes, windows, and walls. Monitor humidity levels, as excessive moisture can lead to mold and damage. Use a hygrometer to assess humidity control; ideally, levels should stay between 30-50%.
Inspect the exterior drainage system, ensuring downspouts direct water away from your foundation.
Finally, look for cracks in walls or floors that may allow moisture intrusion. Addressing these issues promptly will enhance your basement’s waterproof integrity.
Conclusion
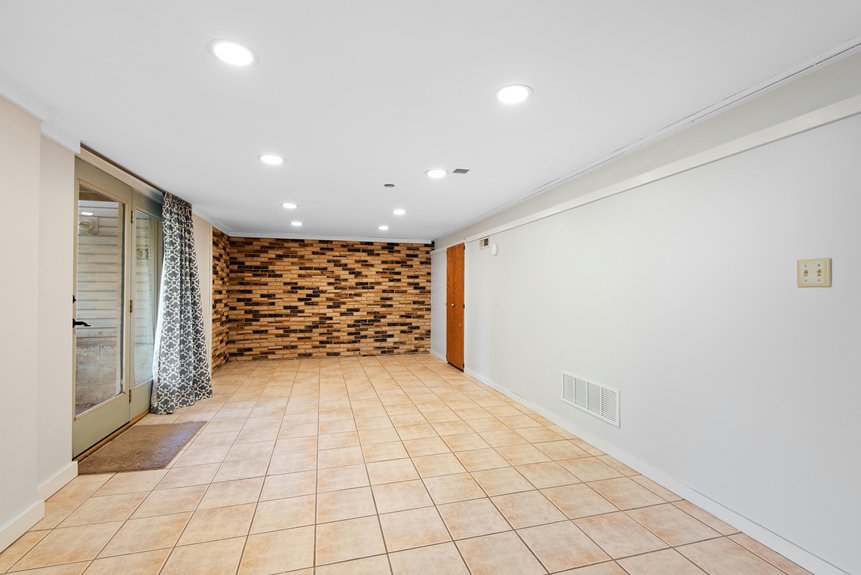
By following these seven steps, you can effectively waterproof your basement walls and safeguard your home against moisture problems. Regular inspections and maintenance are key to ensuring your efforts remain effective over time. Don’t underestimate the importance of a dehumidifier and an interior drainage system, as they can provide added layers of protection. With a little dedication and the right techniques, you’ll create a dry, secure basement that enhances your living space for years to come.