When addressing basement waterproofing, understanding the steps involved in installing an exterior French drain is essential. You’ll start by evaluating your property’s drainage needs to pinpoint problem areas. Then, you’ll plan the system layout before gathering the necessary materials. Digging the trench comes next, followed by the installation of the drain components. Each of these steps plays an important role in ensuring effective water management. Let’s explore how to execute these tasks efficiently.
Key Takeaways
- Conduct a drainage assessment to identify problem areas and moisture signs in the basement or crawl spaces.
- Plan the French drain layout, ensuring it redirects water away from the foundation and avoids low spots.
- Gather necessary materials, including perforated pipes, gravel, filter fabric, and waterproofing materials for installation.
- Dig a trench 18 to 24 inches deep, marking the path and maintaining consistent depth while avoiding utility lines.
- Install the perforated pipe at the trench bottom, surround it with gravel, and cover with geotextile fabric for effective drainage.
Assessing Your Property’s Drainage Needs
How do you determine if your property needs a French drain? Start with a thorough drainage assessment.
Examine your property’s grading and landscaping; improper slope can lead to water pooling. Check for signs of moisture in your basement or crawl space, such as mold or water stains.
Conduct a property evaluation during heavy rain to observe water movement. Test soil permeability by digging a small hole and observing how quickly it drains.
If water accumulates or doesn’t drain well, it’s a strong indicator that a French drain could effectively mitigate water issues and protect your foundation.
Planning the French Drain System
When planning your French drain system, first assess your property’s specific drainage needs to identify problem areas.
Next, determine the ideal location for the drain to effectively redirect water away from your foundation.
Finally, choose appropriate drainage materials that guarantee durability and efficiency in managing water flow.
Assess Property Drainage Needs
As you begin planning your French drain system, it’s essential to thoroughly assess your property’s drainage needs to secure effective water management. Utilize drainage assessment techniques such as soil percolation tests and visual inspections. Conduct a property slope analysis to determine how water flows across your land.
| Assessment Technique | Description | Purpose |
|---|---|---|
| Soil Percolation Test | Measures water absorption rate | Assess soil drainage capacity |
| Visual Inspection | Observes surface water patterns | Identify drainage issues |
| Leveling Equipment Usage | Guarantees accurate slope measurement | Optimize drain placement |
| Rainfall Impact Analysis | Evaluates water accumulation | Prepare for heavy rainfall |
Determine Drain Location
After evaluating your property’s drainage needs, pinpointing the ideal location for your French drain is the next critical step.
Start by identifying areas where water tends to accumulate, considering the natural slope of your yard. A proper drain slope is essential; it should direct water flow away from your foundation.
Mark the path where the drain will be installed, ensuring it leads to an appropriate drainage outlet. Avoid low spots that could hinder water movement.
Choose Drainage Materials
Choosing the right drainage materials is crucial for the effectiveness of your French drain system.
The right drainage material types can greatly enhance your system’s performance. Here are essential materials to take into account:
- Perforated Pipe: Facilitates water flow while filtering debris.
- Gravel: Provides excellent drainage and supports pipe stability.
- Landscape Fabric: Prevents soil from clogging the gravel, ensuring effective drainage solutions.
- Drainage Box: Collects and directs water away from the foundation.
Gathering Necessary Materials and Tools
Before starting your exterior French drain project, you need to gather a specific set of materials and tools.
Create an important tools checklist and review the required materials overview to guarantee you have everything on hand.
Don’t overlook the importance of safety equipment, as it’s vital for protecting yourself during the installation process.
Essential Tools Checklist
When tackling the installation of an exterior French drain, having the right tools and materials can make all the difference in guaranteeing a successful project.
Here’s an important tools checklist featuring key tool types and necessary equipment you’ll need:
- Shovel – For digging trenches and removing soil.
- Level – To guarantee proper drainage slope throughout the installation.
- Drainage Pipe – Necessary for directing water away from your foundation.
- Perforated Pipe – A vital component to collect and transport water effectively.
Gather these tools before you start, and you’ll streamline your installation process considerably.
Required Materials Overview
Successful installation of an exterior French drain relies heavily on gathering the right materials.
You’ll need drainage materials such as perforated pipe, gravel, and filter fabric to guarantee effective water flow.
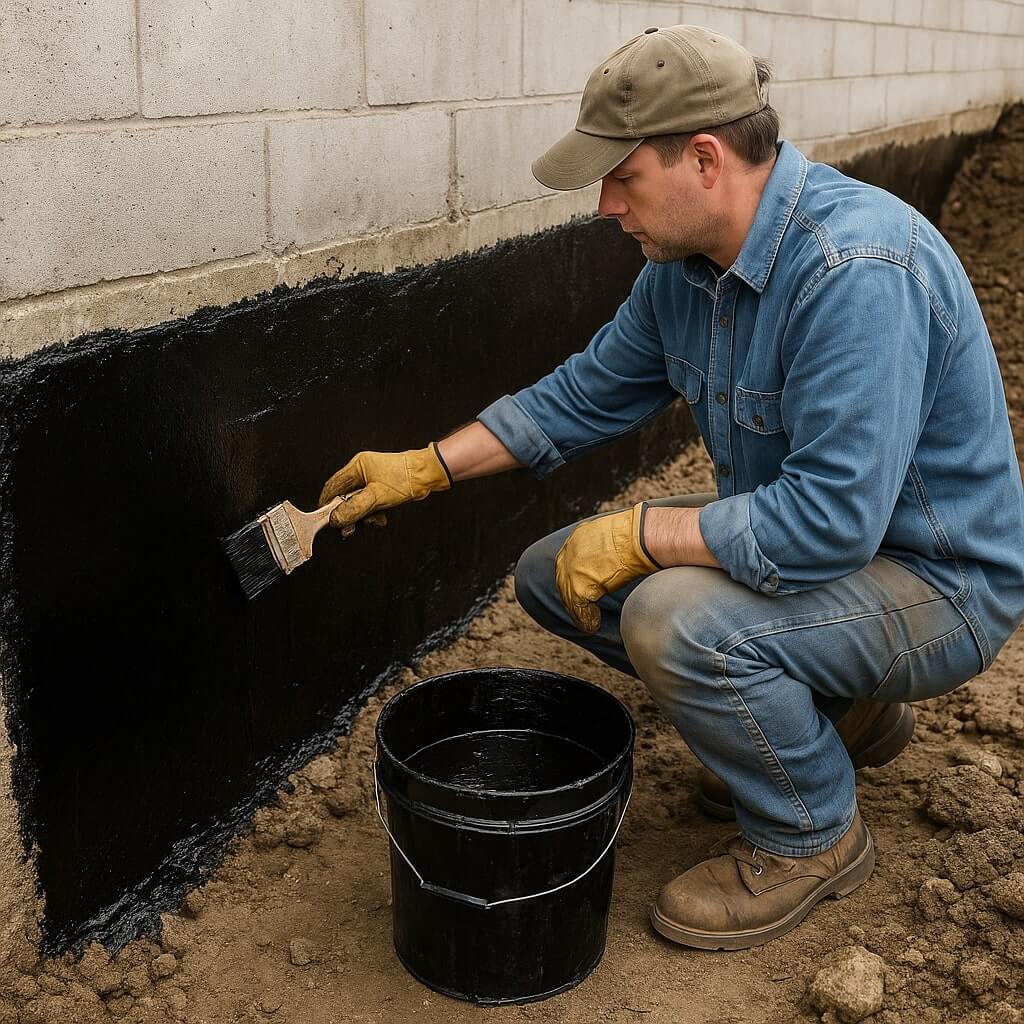
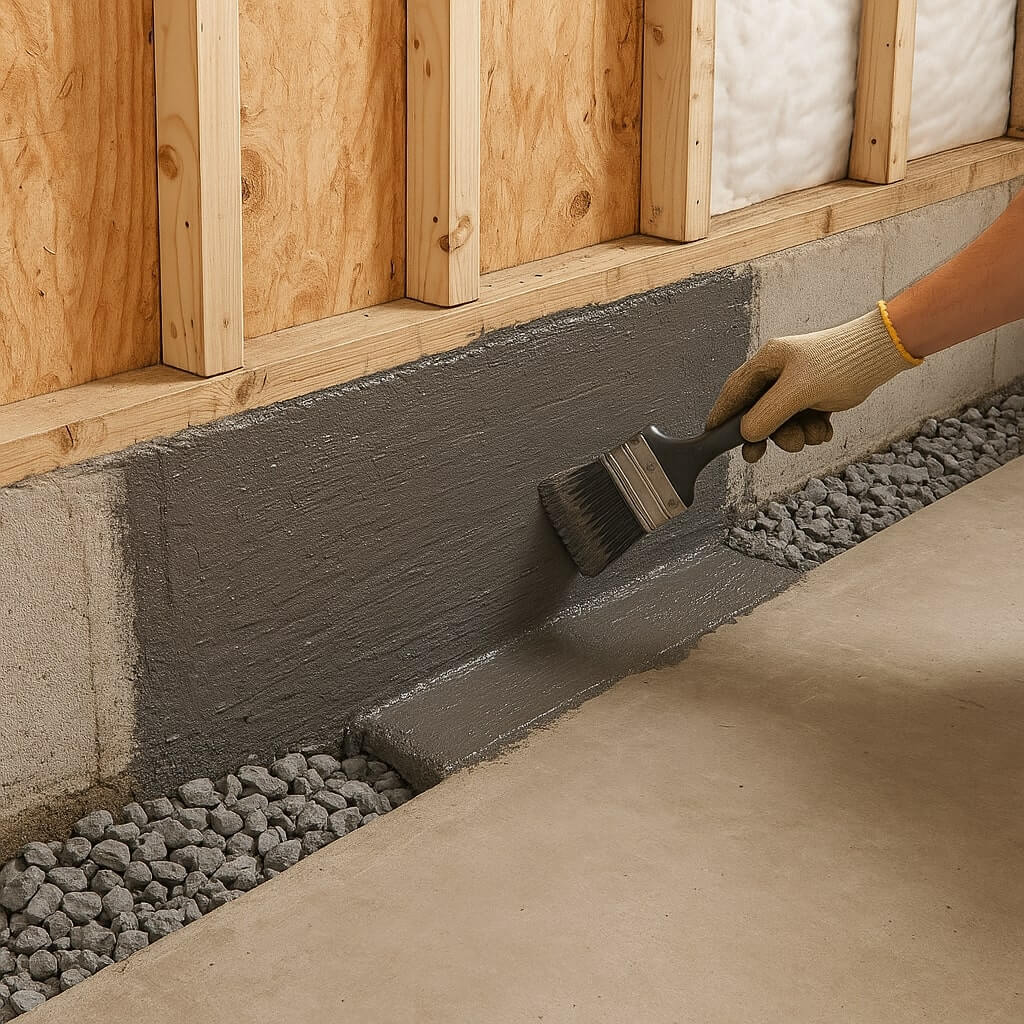
Additionally, waterproofing techniques require materials like sealants and waterproof membranes to protect your foundation from moisture intrusion.
Don’t forget to include a sump pit and pump if your landscape demands it.
Before starting, double-check that you’ve sourced high-quality products to enhance durability and performance.
This careful selection of materials will greatly contribute to the long-term success of your French drain system, preventing future water-related issues.
Safety Equipment Importance
Ensuring your safety while installing an exterior French drain is essential, as the project often involves digging and heavy lifting.
A thorough risk assessment is vital, and appropriate safety gear must be gathered to mitigate potential hazards. Here’s what you’ll need:
- Hard hat – Protects against falling debris.
- Steel-toed boots – Safeguards your feet from heavy objects.
- Gloves – Shields your hands from sharp tools and materials.
- Safety goggles – Prevents eye injuries from dust and flying particles.
With the right safety equipment, you can focus on the task without unnecessary risks.
Digging the Trench for the Drain
Before you begin digging the trench for your exterior French drain, it’s crucial to plan the layout carefully to guarantee proper water flow and drainage.
Determine the appropriate trench depth, usually 18 to 24 inches, based on your local soil types, as clay can retain water, while sandy soil drains quickly.
Mark the trench’s path with stakes and string to visualize the line. Use a shovel or a trencher to excavate, ensuring the bottom slopes away from your foundation.
Remove rocks and debris as you progress, maintaining a consistent depth for effective water management.
Stay mindful of utility lines during excavation.
Installing the French Drain Components
With the trench now prepared, it’s time to install the French drain components that will effectively manage water runoff.
Follow these steps for a successful drainage installation:
- Lay a perforated pipe at the bottom of the trench, guaranteeing the holes face downward for ideal drainage.
- Surround the pipe with gravel, creating a filter that prevents sediment buildup.
- Install a geotextile fabric over the gravel to enhance waterproofing techniques and minimize clogging.
- Confirm the pipe’s outlet directs water away from your foundation, preventing future issues.
These steps are essential for achieving a functional and reliable drainage system.
Backfilling and Finishing Touches
As you prepare to backfill the trench, it’s crucial to verify that the gravel and geotextile fabric are properly positioned to maintain the integrity of your drainage system.
Use effective backfill techniques, like layering soil and gravel, to prevent settling. Start with gravel, making sure it’s compacted gently, followed by soil, avoiding large clumps.
Layer soil and gravel during backfilling to prevent settling, starting with gently compacted gravel followed by clump-free soil.
Once filled, check for evenness and verify no air pockets remain. For the finishing touches, smooth the surface and restore any landscaping disrupted during the installation.
This meticulous approach will enhance drainage efficiency and prolong the lifespan of your French drain system, safeguarding your basement from water damage.
Conclusion
By following these steps for exterior French drain basement waterproofing, you can effectively manage water flow and protect your foundation from moisture intrusion. Assess your property, plan your system carefully, and gather all necessary materials before digging the trench. Once you install the perforated pipes and backfill the trench, you’ll create a reliable drainage solution. With proper implementation, this method will guarantee long-lasting protection against water damage, safeguarding your basement for years to come.


